Every girl dreams of being with their mother in the kitchen and mimicking their behavior of baking and preparing food. What better way to celebrate this desired trait than to make your daughter a kitchen to foster their joy of cooking in. Bring out your inner “weekend warrior” and follow this tutorial to create your child’s very own wooden kitchen and produce stand.
Must Have Supplies:
Before you start you will need a handful of 1”x2” and 1”x6” pieces of wood from your local hardware store but pre-cut to the measurements outlined below so you will be ready for assembly. These are designated with letters for purpose of this tutorial and easy reference.
(A) 7pc – 1”x 6”x 12” finished wood
(B) 4pc – 1”x 2”x 5’ finished wood
(C) 4pc – 1”x 2”x 3’ finished wood
(D) 4pc – 1”x 2”x 26” finished wood
(E) 4pc – 1”x2”x 6” finished wood
(F) 2pc – 1”x 2”x 12” finished wood
*Note: The choice of 1”x2” wood was to ensure the structure was light weight. You can choose different options and use these instructions as a guide.
Tools (you need these so you will not be left with a pile of wood).
Be sure to go through your tool bag buried in the corner of your garage and locate the below necessities.
– Power drill
– Sandpaper
– Leveler and Triangle (also referred to as Squarer)
– Handsaw
– Paint
– 1in Wood Screws
– Wood filler
*To increase productivity, use a miter or circular saw and pre-drill holes for screws. Do not forget to use the leveler and triangle for testing your completed piece and marking the measurements for the wood when you precut it before assembly.
Summary of Project:
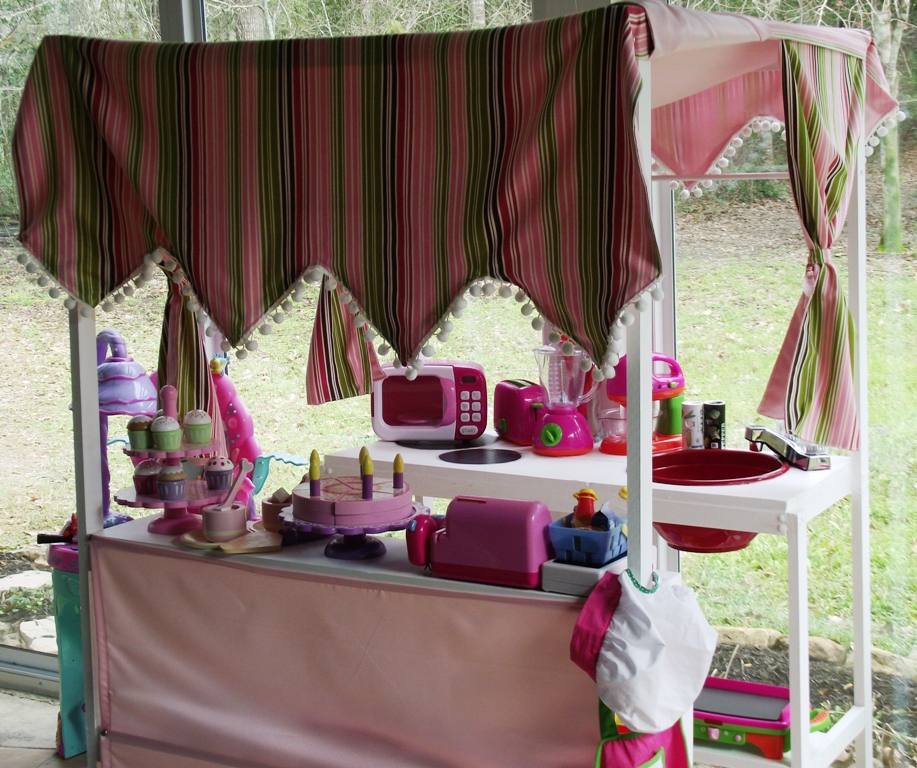
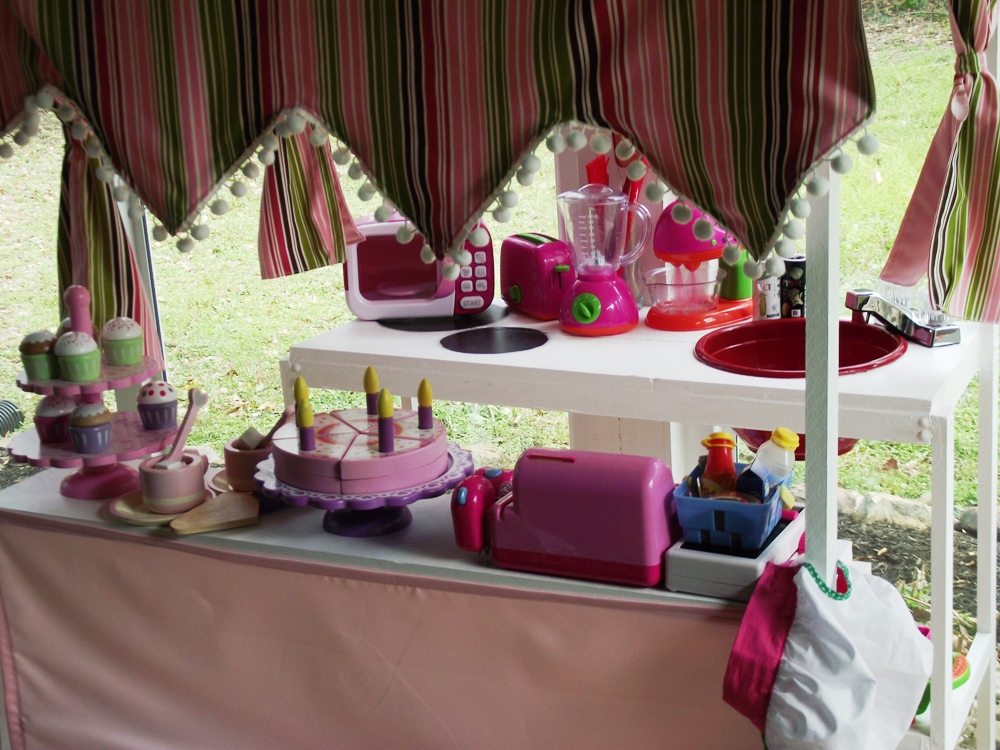
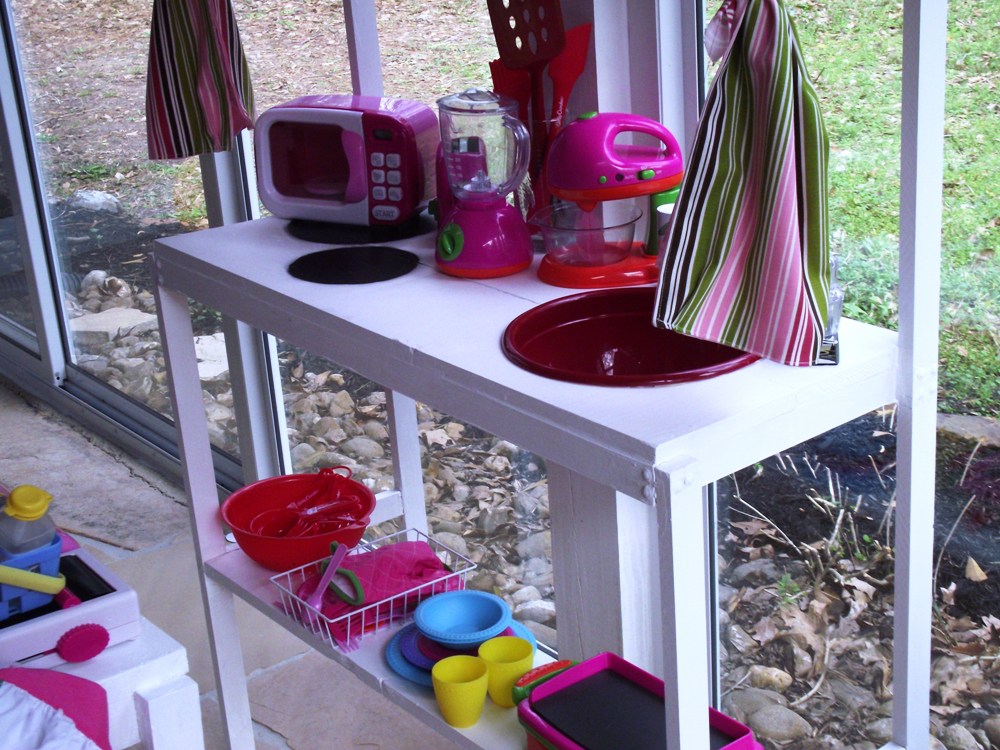
This is constructed in two parts. The first is the table that serves as the produce stand and counter where your child can serve her meals to others. The second part acts as the kitchen. When each of these tables are constructed, a frame is added at the top which serves as the canopy with wood attached across to hang curtains for the galley entrance.
The total height of this piece is 5 feet. The counters are measured at 26in height but you can adjust it to fit the size of your own child. The total width of the kitchen is 12in and length 3 feet.
Getting Started – Produce Stand
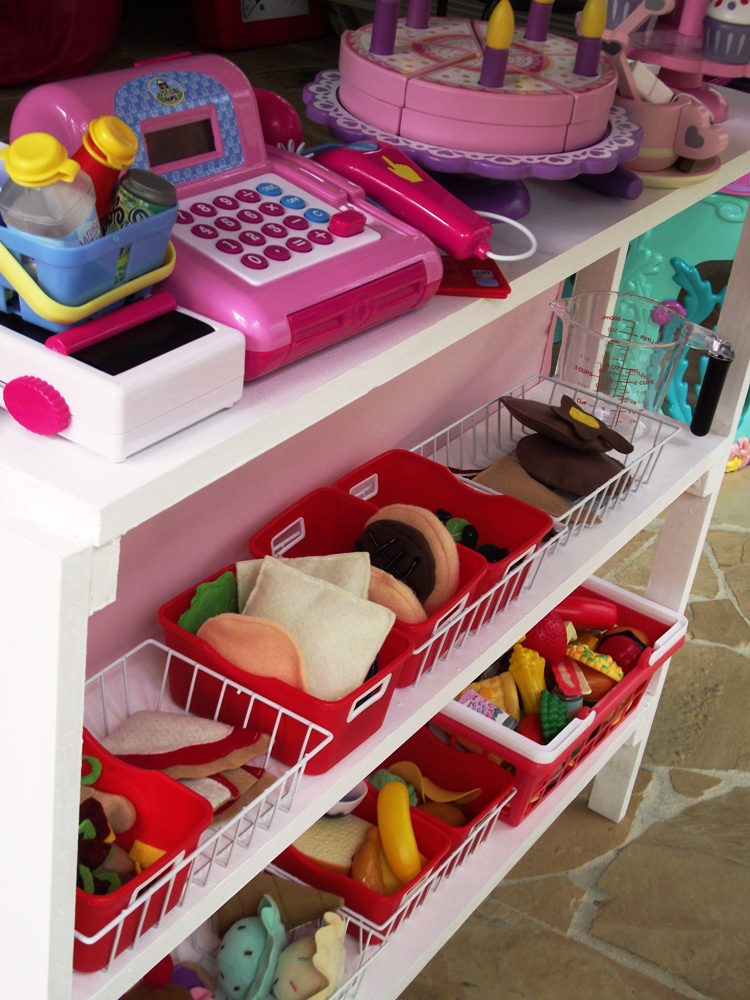
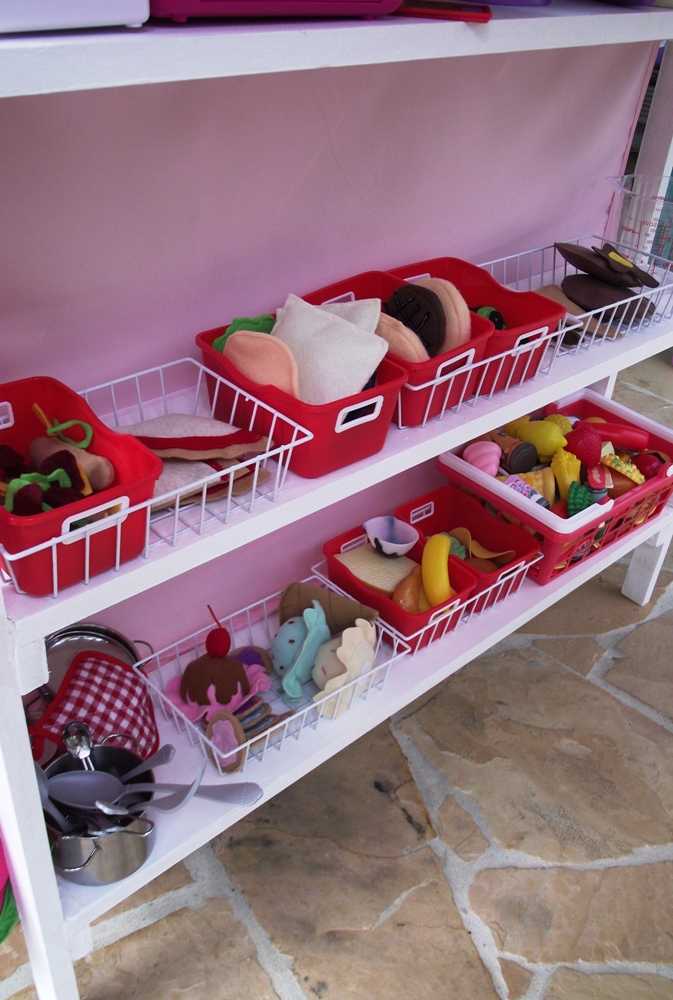
The best way to construct this project is to start with one piece at a time. Grab one wood (B) and (D) and lie on the ground next to each other. Attached two pieces of wood (E) over wood (B) and (D) laid across edge to edge at the height of 6in (shelf 1) and 16in (shelf 2) from the bottom. These will serve as the inner braces for your two shelves on the produce stand. Once completed, repeat the same with another wood (B) and (D), but be sure to lie wood (E) on the opposite side.
How to test if you assembled it correctly:
When you stand both completed sections up, wood (E) on each part should be facing each other and (B) will be to the back.
Next you want to assemble the shelves. Take two pieces of wood (A) and lay them on top of wood (E) on the inside. Attach. Now you have your two bottom shelves, but still need to make your counter. Take another wood (E) and lay across the top at the top of wood (D). For personal preference, you can attach an additional piece of scrap wood in between wood (D) and wood (E) to ensure your piece is completely square.
Your first piece is almost complete. Attach wood (C) between wood (B) at each end to square off your finished piece and serve the extra purpose of holding your canopy (can also serve as a pot or utensil holder). You can choose to add a dowel rod 18in from the height of the counter to hang “S” hooks.
Once you are happy with your completed stand, sand all edges, use wood filler over the screws, and paint.
Finishing Your Project – Kitchen
Now that the first piece is complete, we move on to the kitchen stand. This is constructed in the same format however; it has only one shelf and is placed at the height of 12in from the bottom.
Construct the frame the same way as you did the produce stand by taking wood (B) and (D), and laying wood (F) on top of each part 12in from the bottom. Wood (F) is going to be 12in instead of the 6in used in the produce stand because you want to ensure to have two pieces of wood (A) for your kitchen counter top. This will ensure you have enough space for a sink, faucet, and stove.
When both of these ends are completed and standing up, wood (F) should be both facing inward and wood (B) standing in the back. Attach two pieces of wood (A) across wood (F) as your shelf. Now you need to construct the countertop and attach two more pieces of wood (A) across. For personal preference, add some extra scrap wood in between wood (D) and wood (B) to square the counter top.
When completed, attach wood (C) across wood (B) at the top to square off your piece and add an additional dowel rod 18in up from the counter if you desire. Be sure to test its sturdiness, sand any rough edges and paint.
Near the Finish Line
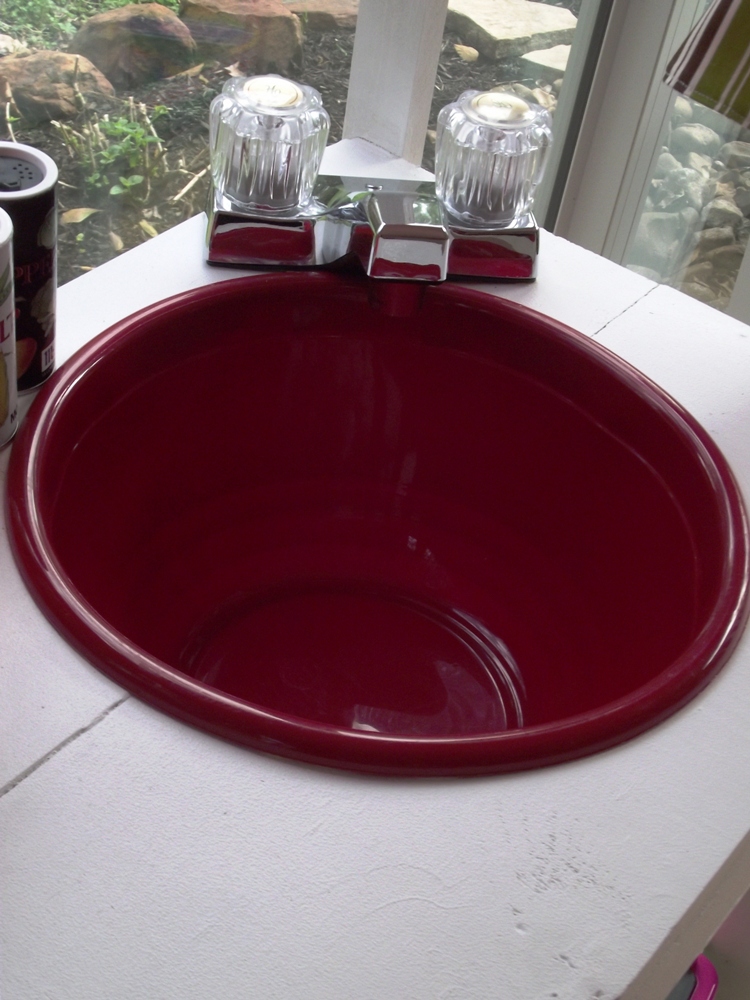
You are near the finish line! Each main part is completed and ready to go. The last thing to do is add the faucet and sink. This can be completed with drilling a few circles into the kitchen counter and attaching a faucet from your local hardware store. Driving by the dollar store? Run in and pick up a big plastic bowl to act as the sink to your kitchen. Use a jig saw and cut your circle to size of the bowl and use gorilla glue to ensure it never comes out.
For the stove, you have the option of just creating a circle template and painting some black circles onto the wood or pick up some wooden discs from the craft store, paint black, and attach them to your kitchen counter.
Be sure to take your last two remaining pieces of wood (C) are pre painted before your final attachment is made bringing these two pieces together. Relocate the two counters to their desired location in your home and assemble wood (C) going across to wood (B) where the entry point of your kitchen is.
*Optional: Spend more additional countless hours sewing a canopy and curtains for you newest creation!
You have completed your project and can now sit back and relax, watching your little one enjoy the fruits of your labor.

If you have any questions, feel free to post them in the comments section below!


