With back to school around the corner, these fun duct tape craft tutorials will give you an opportunity to personalize and customize your supplies. These are perfect ideas that offer functional solutions for storing and organizing your back to school supplies.
Basic Supplies
All of the below projects will require these basic supplies. Additional supplies may be needed for some projects.
– Desired coordinating rolls of duct tape.
– Self healing mat
– Craft knife
– Scissors
– Ruler
Duct Tape Pencil Case
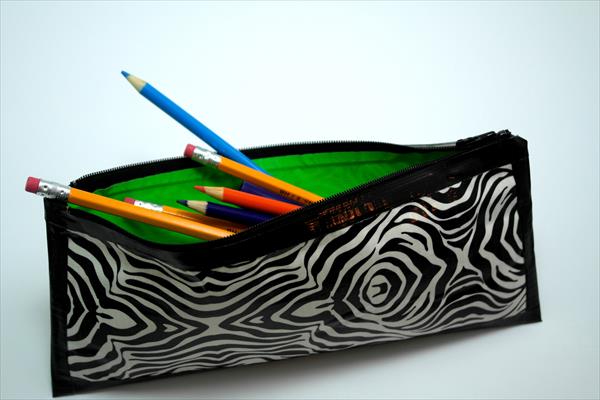
If you prefer a zipper style pencil case, you can purchase a cheap plain one at the store and dazzle up with decorative duct tape or purchase just a zipper to construct your pencil case from. Make 2 sheets of duct tape by attach your decorative color on the outside to a solid inside color duct tape. Secure the zipper to the edges of the duct tape sheet mold and shape into a rectangular case style shape. create your edge by folding over another strip of duct tape, using the craft knife to trim and shape the edges neatly.
Duct Tape Tassel Bookmark
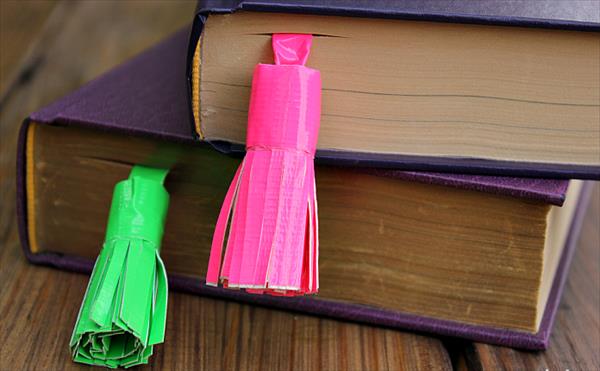
This project provides a stylish way to mark your reading spot for your school books. Start off with a 10 inch length of duct tape and create another miniature strip in the same length placing it vertical at the end. Fringe the thicker length by making fine cuts along it width wise. Once you are done cutting start to roll up to create your hanging tassel end.
Duct Tape Pencil Tops
This is a great way to individualize standard pencils. Making a small 8 inch size bracelet, fold it in half before folding it in half again. Take a 5 inch piece of duct tape, cutting it into thirds. One strip will be used to hold the pencil eraser side up and taping the bottom of the shape to the top of the pencil by wrapping it to secure. Cover the complete metal part so it is not visible.

Desktop Duct Tape Pencil Holder
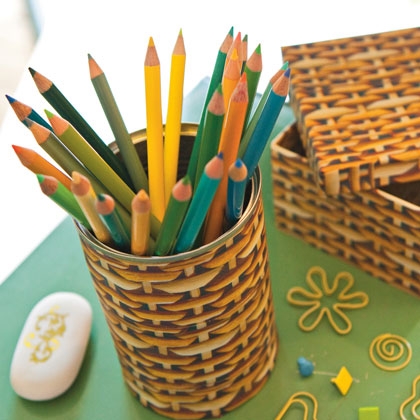
Recycle a can and use as a pencil holder by decorating the outside with duct tape. A pineapple size can is a perfect size to use. Just peel the tape off and secure around the can using the desire style duct tape you like.
Binder Pencil Pouch with Duct Tape
Using a one gallon sizes slider style storage bag, measure and cut three inches off the bottom edge of the storage bag. Use 5 pieces of duct tape measured at 10.5 inches each. Wrap around the bad across and press to adhere. Repeat with the remaining pieces until you cover the complete bag. For the backside, use 4 pieces if 12 inch size strips and fold the extra length over on each side. Once complete, reinforce the edges using 7.75 inch strips on each side. Use a three hole punch to make the holes for the loose leaf binder along the bottom edge.
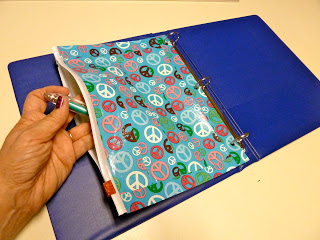
Duct Tape Pencil Box Storage
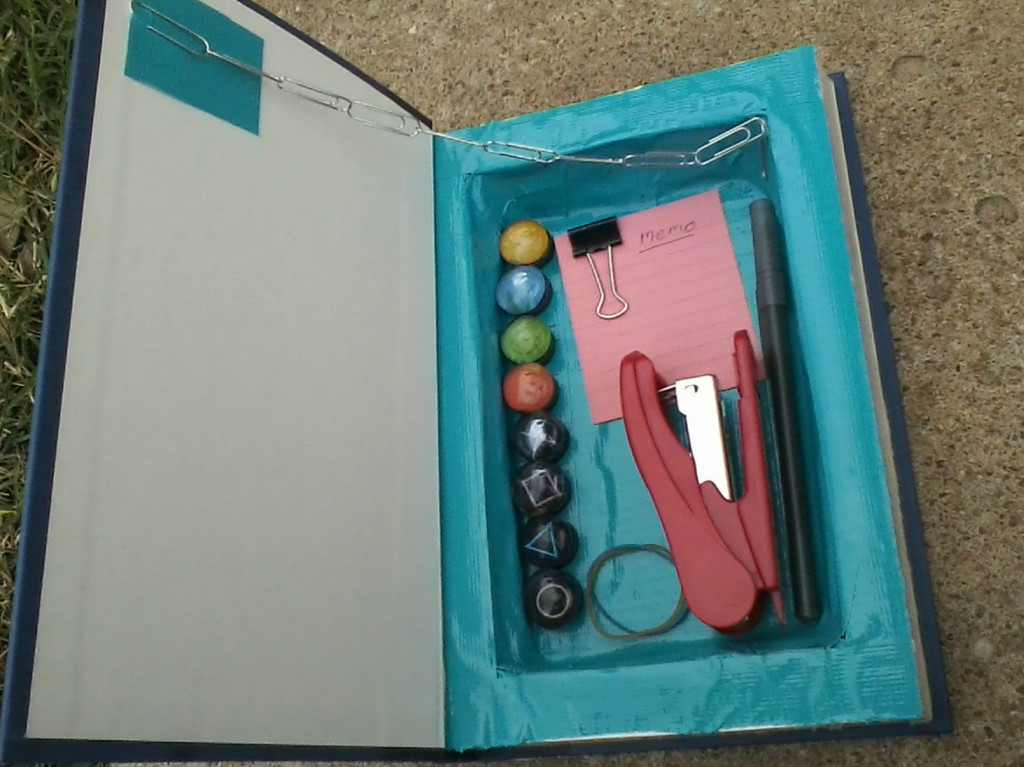
Modify a book from the dollar store and create this adorable duct tape pencil box storage. Hollow out the inside and create your desired size storage area. Attach duct tape to the outside spine of the book and cover the original title at the top. Line the inside of the book and fill with your desired supplies. If you want to create a chain effect when you open it, attach a string of paper clips.
Duct Tape Clipboard
Starting at the bottom, strip the duct tape across the top of the clipboard until completely covered. Take your craft knife over a craft mat and trim off the excess edges. To attach a pen holder at the top, cut a strip of 4.5 inch long piece of duct tape and another 1.5 inch piece of tape to attach downward onto the sticky side of the 4.5 inch strip so the pen does not stick when inserted. The 1.5 inch size strip should be placed 1.5 inches to the right from the left end. Attach to clipboard on the top right corner.
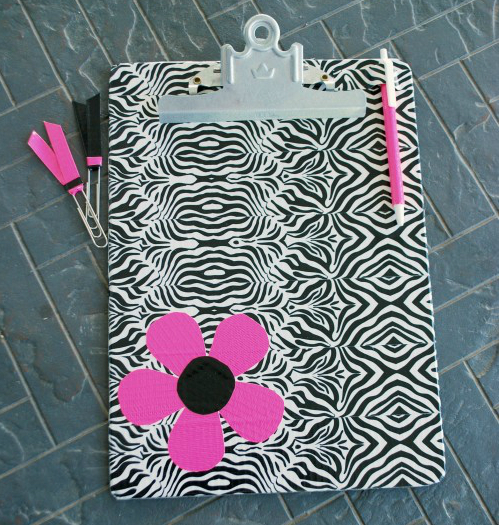
Bonus: Back to School Duct Tape Craft Tutorial
An awesome video on some easy to make duct tape craft projects for back to school.

